Webflow blogging
Publish Webflow articles with SEO Studio: collections, images and approval
Connect SEO Studio to Webflow CMS, map article fields and the template, choose approval settings and check publication. Includes a real test from 12 October 2026.
How do you publish SEO Studio articles on Webflow?
Connect a site token, choose the destination collection and map its Rich text field. Bind the cover and SEO fields to your page template as well. Then choose default human review or explicitly enabled automatic review, and separately grant publishing permission. An article being present in the CMS does not establish that its public page has been published and checked.
On Webflow, the result depends on both the content sent to the CMS and the template displaying it. A complete article may remain invisible when the page uses the wrong field. Its cover may be cropped or repeated when the template and the article body both display the same image.
This guide explains SEO Studio’s connection process and our internal test on 12 October 2026. An assisted repair preceded automatic correction and publication; the test does not establish a client SEO improvement.
1. Prepare the collection and its template
Your website needs an article CMS collection with a Rich text field for the body. Check that your Webflow plan supports the CMS and publishing features you intend to use. Open an existing article and identify its title, main text, cover and other elements that should appear on every page.
Required collection fields must have a supported source of content. A field with no planned value can prevent article creation. Resolve this with the site administrator. A collection designed for products or projects is not necessarily suitable as a blog.
2. Find the blog from SEO Studio
A site administrator creates a token in Webflow’s site settings under Apps & integrations, then API access. SEO Studio requires site reading and CMS reading and writing permissions. Use access dedicated to this purpose and enter the token in the protected connection field; you are not asked for your Webflow password.
Use the blog search button, confirm the recognised website, then choose the destination collection when several are available. Studio discovers its fields and offers the available mappings. Once you have checked them, connect the blog. This verification does not publish a public article and does not grant publishing permission on your behalf.
3. Map the body, cover and SEO fields
Select the Rich text field that holds the article body. Advanced options let you map an excerpt, SEO title, SEO description and cover image. Compare suggestions with the fields your collection actually uses. A similar label alone is not enough to confirm that a field is the right destination.
In the Webflow page template, bind these fields to the text, image and SEO settings, then publish the template. When a native cover field is mapped, the template should display that cover once; the distinct inline illustration remains in the article body. Check the crop as well: an image containing text can lose important information when its frame cuts off the sides.
4. Choose review settings and a publication slot
Human review is the default. The owner may explicitly enable automatic review and scheduling for eligible future articles. Their text, factual support and both images must pass checks before that exact version is approved. The automatic mode does not include systematic human review; unresolved corrections can still require Oryon to examine the article.
Grant publishing permission separately in the owner’s account. In “Publication time”, save the desired local time and timezone. The preference affects future scheduling and does not move articles already scheduled. It is an earliest publication time: preparation, checks or Webflow availability can delay the result. A connection alone is not enough to send articles live.
What our 12 October test established
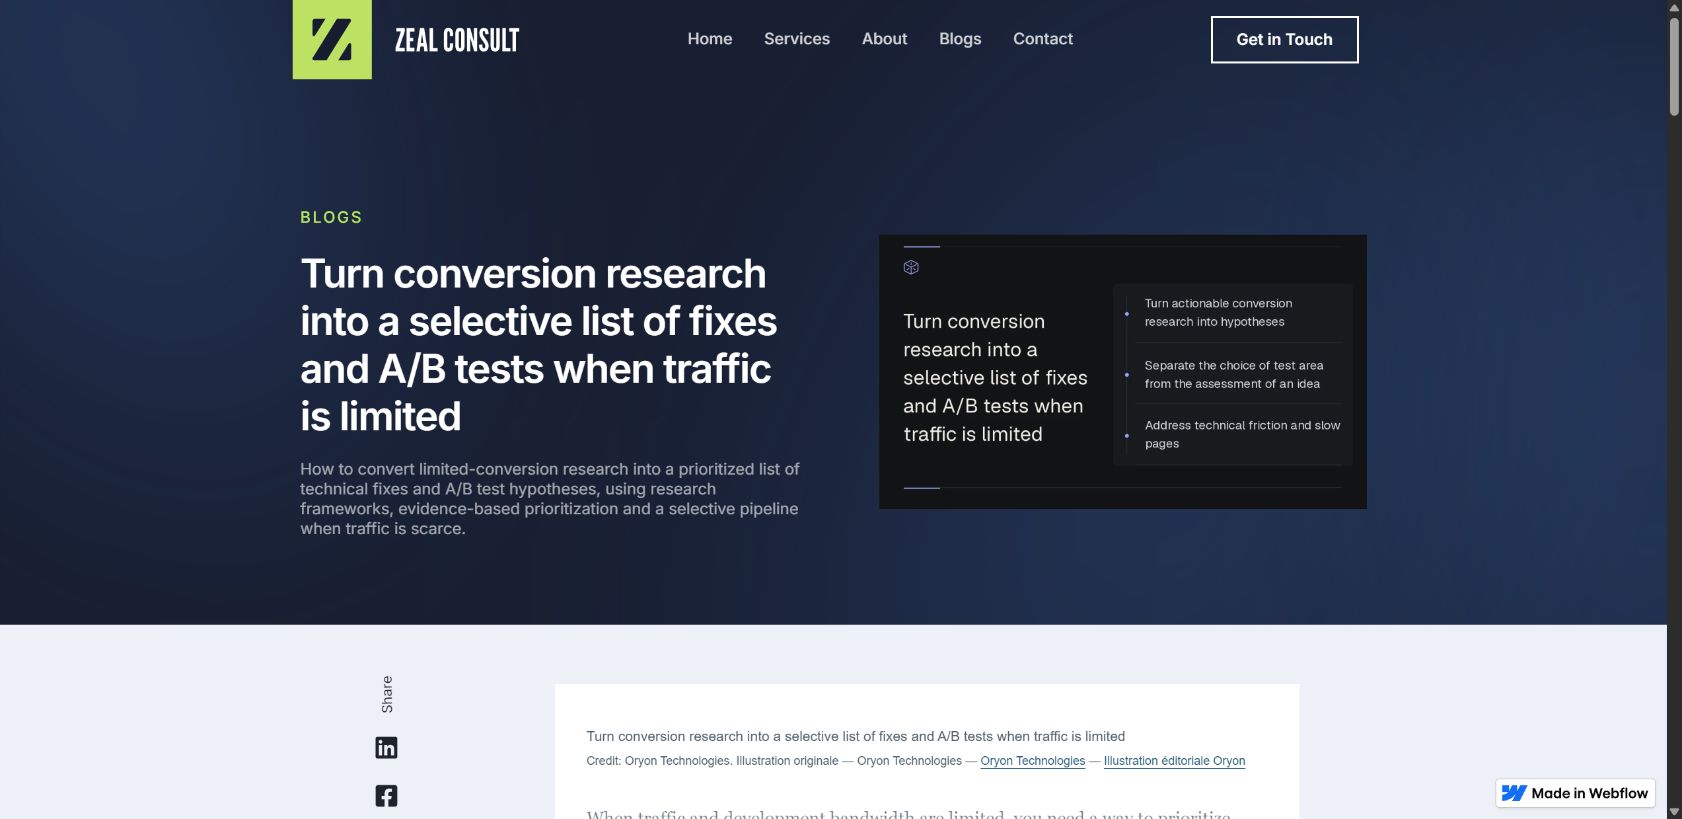
An article about conversion research and A/B tests was published on our test site on 12 October 2026 at 08:11:19 Paris time. After an assisted restart to correct claims, the subsequent correction, checks and publication completed automatically. The final factual review covered 16 claims and recorded no remaining issues.
The public check found all 30 expected text blocks and two distinct loaded images, with a single cover. We then corrected the cover crop in the template and checked that the full illustration was visible on desktop and mobile. That presentation repair was part of the test. The journey therefore does not demonstrate complete independence from intervention or success on subsequent days.
5. Check the published page, beyond the CMS
Webflow separates content prepared in the CMS from content that is live. An item record or preview alone therefore does not prove readers receive the new version. Follow the real link from the public blog and compare its title, introduction, sections and conclusion with the approved article.
Scroll through the full page on desktop and mobile. The cover should appear only once within the article and remain readable, while the distinct inline illustration should load in its intended section with its credit information. Check links and horizontal overflow. If the result differs, identify the relevant field or template before creating another copy of the article.
Build a useful publishing routine
SEO Studio aims for one article per day, subject to approval and publishing conditions. An editorial block is not bypassed to meet that pace. Publication and indexing require separate verification, and no Google position is guaranteed. Choose distinct topics connected to customer questions and follow the pages that are actually discovered and visited.